Posted on

Three Strikes

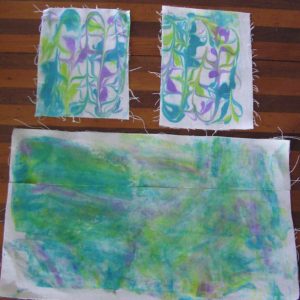
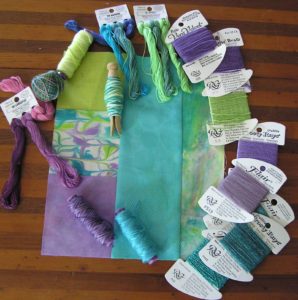
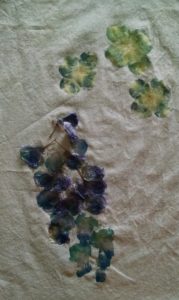
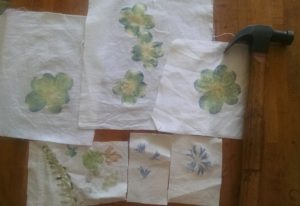
Today’s post is a tough lesson in the reality of learning a new creative skill.  A lot of what gets made is not very good.  It is very difficult to admit that something (or in this case, three things) that I’ve spent a lot of time and materials on, is rubbish.  But there are a few positive things to take from this week’s work.  One, I finished three 8 X  10″ pieces.  Two, I tried some techniques that have potential.  Take a look:

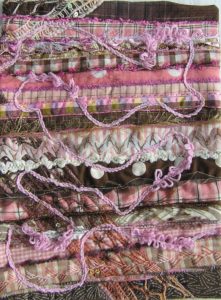
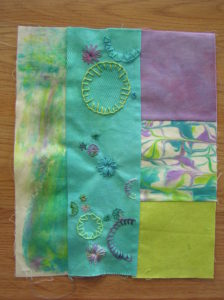
I love the hand stitching that I did on these, and I am pleased with the effects created by the machine couching of the funky yarns.

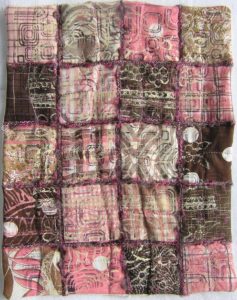
What keeps tripping me up is the final assembly and quilting.  These three pieces were pillowcase bound and then lightly quilted to secure the layers.  I ended up with some lumpy areas and wavy edges.  The last one was especially troublesome:

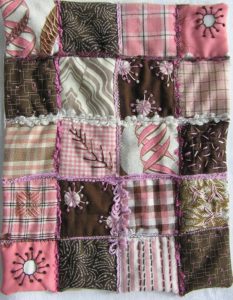
These are just not up to my creative vision, and certainly showing my lack of technical skill.  Even though they are three strikes, I refuse to be called “out,” the only way I can get better with my quilting skills is to make more.  The really bad thing is that the color combination is making me crave Neapolitan ice cream!

Posted on

Stitching in Circles

So much for getting an 8 X 10″ done quickly!  The fabric in the center of this little project has a pattern of various size circles woven into it, and I am highlighting those circles with stitching:

Of course, I am already running into a problem I encounter with nearly every art quilt I make: how and when do I quilt it?  The more embellishing that goes on the quilt, the more I have knots and  other thread mess on the back, but I have to add a backing and quilt through it at some point without destroying the embellishing or the sewing machine in the process.  Maybe through using these little quilts as experiments, I will finally come to a technique to solve my quilting issues.

I love this color combination, and I am thinking about making some Creative Kits with it soon.  It captures the aqua blue of the robin’s eggs that I always find this time of year, the purple of the wisteria blooms outside of my bedroom window and the bright greens of the springtime hayfields all around me.

Posted on

Little by Little

My self-imposed 8 X 10″ challenge continues to elude me.  Earlier in the week, I was playing with my Tsukineko inks , and successfully attempted the shaving cream marbling:

The piece on the bottom is the result of mashing the excess shaving cream and ink, scraped off of the marbled pieces, into another piece of muslin.

Today, while dinner roasted in the oven, I pulled a few pieces of fabric that matched the ones I used for the marbling, and quickly pieced an 8 X 10″ top.  Here is where I get bogged down on finishing things – embellishing.  Not that embellishing causes any sort of fear or anxiety that stops me from working, oh no… it is just that embellishing takes so much time.  Take a look at the fun threads I have pulled:

The threads are from Rainbow GalleryHouse of EmbroideryWonderFil Eleganza and a few others.  I haven’t pulled out any yarns or trims yet, will this little quilt get finished by the end of next week?

Posted on

Wisteria, Deconstructed

Behold, the destruction by smashing of a lovely wisteria flower spray, all of the sake of art.  Here is the flower cluster before its demise, I auditioned the placement of it among the impressions of pink dogwoods.

Next, I plucked each floret from the main stem and placed them on my fabric to re-create the arc of the flower cluster as it had danced in the spring breeze on its parent vine.

Finally, the flower, post-pounding.  It created a watercolor paint look, I just hope the blue and purple tones don’t turn brown as it dries.

Next week, will I have an 8 X 10″ piece finished?  Check back to find out if I stuck to that goal, or distracted myself with something else!

Posted on

Flower Power

Sadly, I still have not have any success in completing an 8 X 10″ quilt in a week.  I am so easily distracted, and I almost always have to set a piece aside for a while while I think about what I need to do with it.  The whole point of a mini quilt a week is to train myself to think and work faster.  Ironically, that training will take more time!

Meanwhile, I might be inching closer to some quick small pieces to finish.  Now that spring flowers are popping open in great abundance, I have been playing with flower pounding.  Using fabric treated with soda ash and alum, I am literally hammering flowers and leaves onto the fabric, releasing the pigments into the fibers for an interesting variant on dyeing.

A new appreciation of spring

Here are the pink magnolias that resulted in the lovely four-petal flowers in the above image:

This is the thistle-like flower that made the print in the lower right of the first image:

Not all flowers made good candidates for this technique.  As you can see from my little test piece of fabric (lower right), some of my favorite flowers, lilacs and violets were terrible.  The fern leaf was promising, I will try that again.  This is the best of two worlds that mean so much to me, my gardens and creating art.  Of course, some of my art prior to trying flower pounding has been inspired by my garden and wild flora, but this truly combines the two.

There is a book dedicated to the technique, Flower Pounding by Ann Frischkorn and Amy Sandrin (C&T Publishing, 2000).  I have one very big problem with the book – the authors failed to include a crucial discussion of the ethics of plant collection.  Make sure that you are not picking rare or endangered plants, for every one flower you pick, leave at least 10 untouched, do not collect from state or national parks, and make sure you have permission for other properties.

Check back tomorrow for a progress report on my flowers.